
Crimson Desert: All Bosses Guide & Hardest Boss Tier List
Universal boss prep, the 3 hardest bosses (Beloth, Ator, The Forgotten General), and how to beat the final boss Umbra — plus regional boss counts and Watch & Learn farming.
11 min readLast updated:
Quick overview
- Crimson Desert ships with 75+ bosses across the campaign, faction quests, and exploration — split across Hernand (16), Pailune (13), Demeniss (16), Delesyia (9), Crimson Desert (8), plus Pywel-wide and the 3 Overwhelming Beings.
- Bosses are tuned to be brute-forced through healing — your skill ceiling matters less than your meat stockpile.
- Three bosses dominate the difficulty conversation: Beloth the Darksworn, Ator Archon of Antumbra, and The Forgotten General.
- This guide covers the universal prep, the worst offenders, and the final-boss Umbra ride.
Universal boss prep — meat, Palmar Pills, and timing
- Bring 100+ Grilled Meat to every boss fight — 200 if the boss is far from a fast travel point.
- Cheap Grilled Meat (140 HP per piece, 1 raw meat) outperforms Hearty Grilled Meat (280 HP, 12 raw meat) by total healing per inventory slot.
- You can eat one meat every ~2 seconds, even mid-attack. Heal while you stab, don't stop and tank.
- Hold right on the d-pad to open the food wheel, RT/R2 to bind a food to quick-use, then tap right during combat to eat.
- Carry 5+ Palmar Pills as auto-revive insurance (30% HP on death).
- Use a grindstone right before the fight for a temporary weapon damage buff.

Boss-killing skill loadout
- Keen Senses Lv. 2+ for perfect Dodge — non-negotiable. Add Evasive Roll later for post-hit movement.
- Nature's Echo to double every Forward Slash — accelerates the Stagger meter on every boss.
- Lariat (Grappling Lv. 2) staggers most humanoid bosses in one input.
- Turning Slash Lv. 2 as your stagger finisher — pop it during the boss's vulnerability window.
- Equip Abyss Cores from any Witch — they boost stats far more than gear swaps. Aim for Momentum (+35% Turning Slash damage).
- Stack elemental imbues when available: fire vs Kearush, ice resistance vs Beloth, lightning for armored mechs.
Boss Watch & Learn farming — free abilities from major fights
- Most major story bosses teach a unique skill via Watch & Learn — survive long enough and Kliff steals it.
- Matthias (Chapter 2): teaches Pump Kick — also the easiest cheese against him, just spam-kick him into walls.
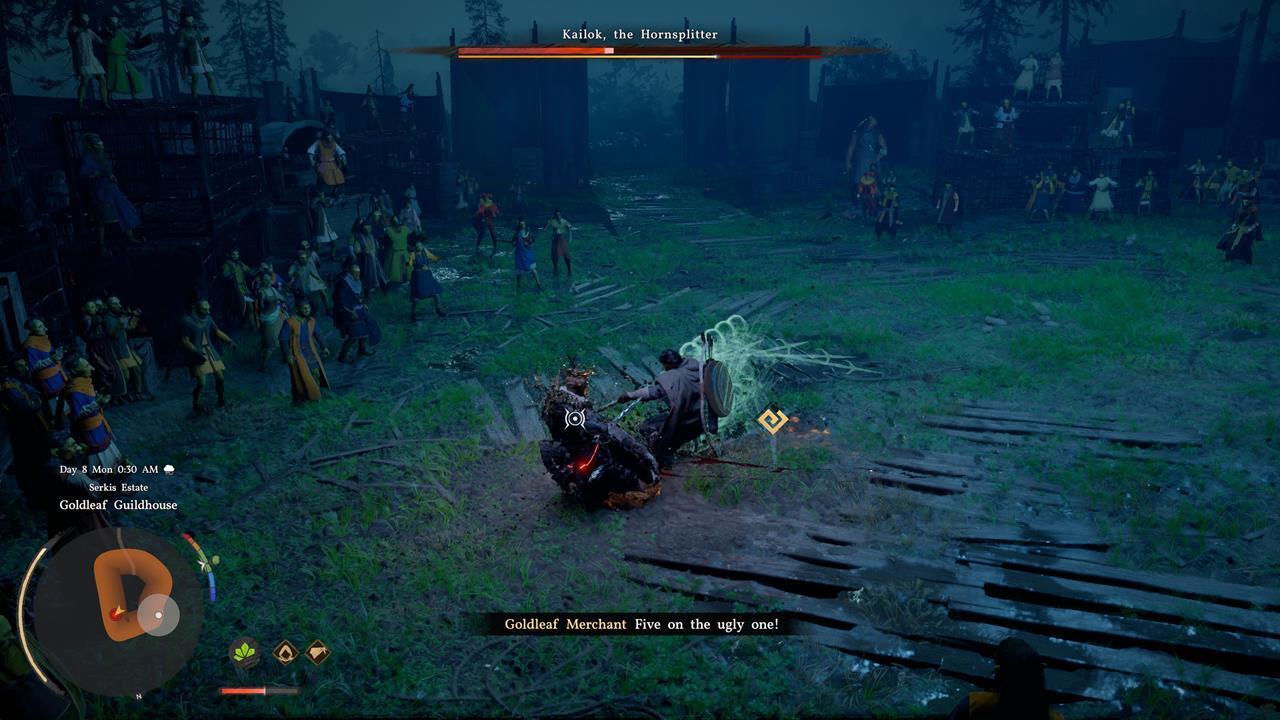
- Hornsplitter / Kailok (Chapter 2): teaches Evasive Roll — keep him alive a few extra cycles.
- Cassius Morten and later boss fights drop the Tauria Curved Sword and Sword of the Lord — two of the best mid-game weapons.
- Watch & Learn doesn't cost an Abyss Artifact — every learned skill = 1 saved point you can spend elsewhere.

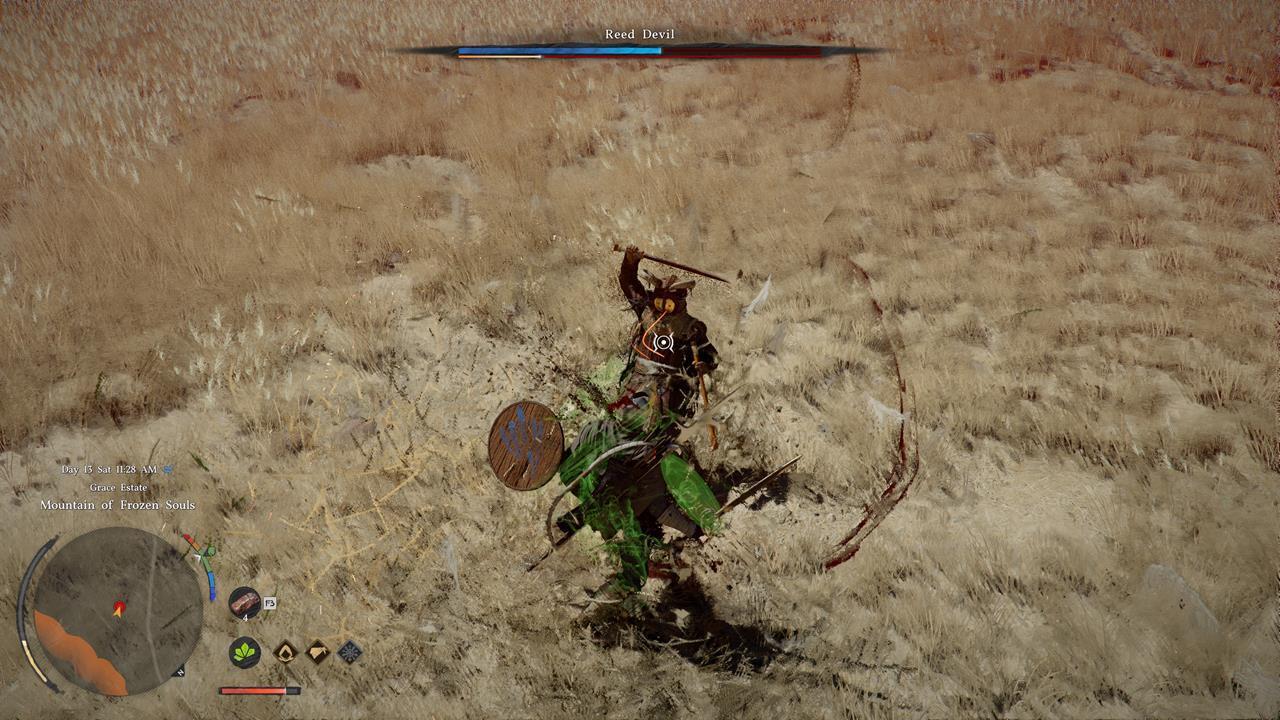
Reed Devil — first real wall (3 phases, totems)
- Chapter 3 boss in Dance with the Devil — most early-game players hit the wall here.
- Bring 40+ Grilled Meat minimum. Three full health bars and the fight runs long.
- Phase 1: parry his slashes with the shield (L1/LB), then chain heavy attacks. L1 + R2 shield-bash interrupts his combos.
- Phase 2: 5 totems spawn — destroy each with quick attacks while dodging ranged minions. Don't sprint in straight lines.
- Phase 3: same as Phase 1 but faster animations. Heal aggressively, the fight ends here.
- Use a grindstone in the open field above the cliffside gauntlet right before engaging Phase 1.
Kearush the Slayer — fire weak, 3 phases
- Chapter 5 boss — feels like an endgame fight even though there's still half the game left.
- Three health bars. Five-hit combo string — dodge through every swing, retaliate after the last one.
- Wall jump attack: when he leaps and a marker appears on the floor, sprint to the edge of the room.
- Don't punish his blue glowing circle frames — that's his invulnerability tell. Wait it out.
- Hidden weakness: Fire imbues stagger him for several seconds. Loot a Fire Spear from random bandits beforehand.
- Aerial Maneuver (Axiom Force Lv. 2) helps reach his weak points when he wall-perches.
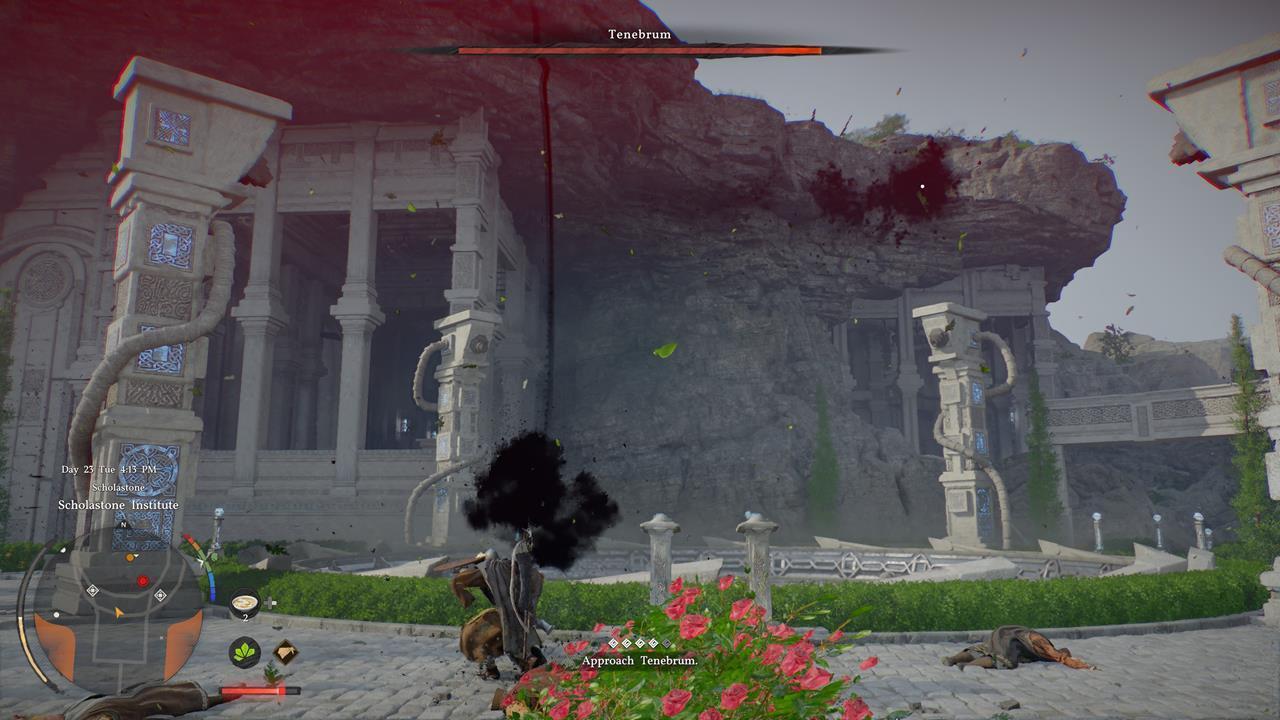
The hardest 3 — Beloth, Ator, The Forgotten General
- Beloth the Darksworn — Hoenmark Ruins, far northwest Hernand. Unlock his questline after Chapter 6 (liberate Pailune).
- Beloth tips: Ice Resistance gear is mandatory — the frozen pool around the arena will freeze you if not. Cold area drains stamina. He one-shots underleveled players.
- Ator, Archon of Antumbra — Cloister of Ruination, Pailune. End of the Antumbra Order faction line (12 Darkness Over the Sanctum subquests + Staff/Sword/Spear bosses).
- Ator tips: massive HP pool. Each hit triggers follow-up orbs that homing-track you. Bring a ranged loadout (Focused Shot bow build) and learn the orb timings.
- The Forgotten General — late-game punishment boss. Aggressive playstyle + summoned apparitions across the arena.
- Forgotten General tips: kill apparitions on cooldown, never let her stack — once she gets 3+ adds up, you're cooked. Stagger-fish via Lariat → Turning Slash.
Umbra (final boss) — dragon riding + Force Palm
- Triggered immediately after defeating Myurdin in Blinding Darkness — no second Myurdin fight if you die here.
- You ride your dragon. Two boss attacks: rock barrage and lasers.
- Stay at medium distance. Too close = shockwave knockback. Too far = your fireballs miss.
- Strafe left/right to avoid lasers — never fly straight. Shoot the eye in the middle until the yellow stagger bar fills.
- When the stagger bar fills: jump off the dragon, glide toward the eye, air-dash (Circle/B), then Force Palm (R3 / Mouse Wheel) the eye.
- Each successful Force Palm removes ~50% HP. Repeat 2-3 times to win. Boss HP doesn't regen on death.
Boss counts by region (75+ total)
- Hernand: 16 bosses — Marni's Excavatron, Saigord the Staglord, Queen Spider, Cubewalker Lithus, etc.
- Pailune: 13 bosses — including Ator, Archon of Antumbra and the entire Antumbra Order chain.
- Demeniss: 16 bosses — most varied region, mix of beast and humanoid foes.
- Delesyia: 9 bosses — Marni's Clockwork Mantis, Thunder Tank, Storm Crusher, Queen Stoneback Crab, Golden Star, Mechanicus.
- Crimson Desert region: 8 bosses, mostly endgame difficulty.
- Pywel-wide: roving world bosses + 3 Overwhelming Beings (true endgame challenges).
- Some bosses (Goyen, Master Du, etc.) don't appear in the Knowledge tab — easy to miss without a checklist.
Anti-frustration tips when a boss walls you
- If a boss feels impossible, the answer is almost always 'more meat, more Cores' — not better dodging.
- Check Witches for new Abyss Cores before retrying. A single new Core can change the math entirely.
- Respec via Faded Abyss Artifact to match the fight type — ranged for Ator, ice resistance for Beloth, fire imbue for Kearush.
- Some bosses are tuned for post-credits gear levels — come back after pushing the main story 2-3 chapters further.
- Patches have softened many bosses — if a guide says a boss one-shots, the current patch may have nerfed that.
- Don't forget Palmar Pills as auto-revive. They turn a 'wipe' into a free second attempt mid-fight.
Related Guides
- Crimson Desert Beginner Guide: 10 Things to Do FirstSkip the rookie mistakes. The 10 most important things to do first in Crimson Desert — controller setup, stat priority, inventory, food, fast travel, and silver.
- Best Skills to Unlock First in Crimson DesertThe 9 skills every Kliff should unlock in the first 10 hours — from Dodge (perfect dodge) to Nature's Echo and Blinding Flash Finisher.
- Abyss Cores Guide — The Real Progression System in Crimson DesertCores are mods you slot into gear — they boost stats and add abilities far more than swapping equipment. Unlock, slot, and stack them right.
- Crimson Desert Trophy & Achievement Roadmap (Platinum Guide)200-300 hours, 35 trophies, 5 missables, 141 Sealed Abyss Artifacts, 8 Hidden Bells. The exact order to unlock the Platinum without burning weeks of redos.
Sources
Information cross-referenced from these sources and verified in-game.